Why Is My Driveway Sealer Peeling How To Fix It
Fresh seal that flakes or lifts is almost always a sign of trapped moisture, poor surface prep, or incompatible products. This happens on asphalt driveways and concrete driveways. The good news: with the right steps, you can restore a durable seal that actually protects your drive.
Why Your Sealer Is Peeling
- Trapped moisture under the coating (applied to damp concrete/asphalt or high humidity).
- Poor surface prep: dust, dirt, oil/grease stains, or old loose sealer left on.
- Incompatible layers: switching from coal tar to acrylic, water-based over solvent, etc.
- Over-application: thick coats or too many coats prevent proper curing.
- Wrong conditions: too cold/hot/wet or high humidity; applied near the dew point; no cure time before traffic or rain.
Diagnose the Real Cause in 5 Steps
- Location of failure: edges and low spots = moisture; wheel paths = early traffic; random sheets = oil/old sealer.
- Peel test: if it lifts in sheets, bonding failed (contamination or incompatible coat). Powdery flake = UV/oxidation of old coat.
- Water test: sprinkle water. Beading indicates oil/contaminant still present.
- Scratch test: soft/tacky after days = applied too thick or too cold/humid to cure.
- Layer history: note prior product type. Mixing types often causes inter-coat failure.
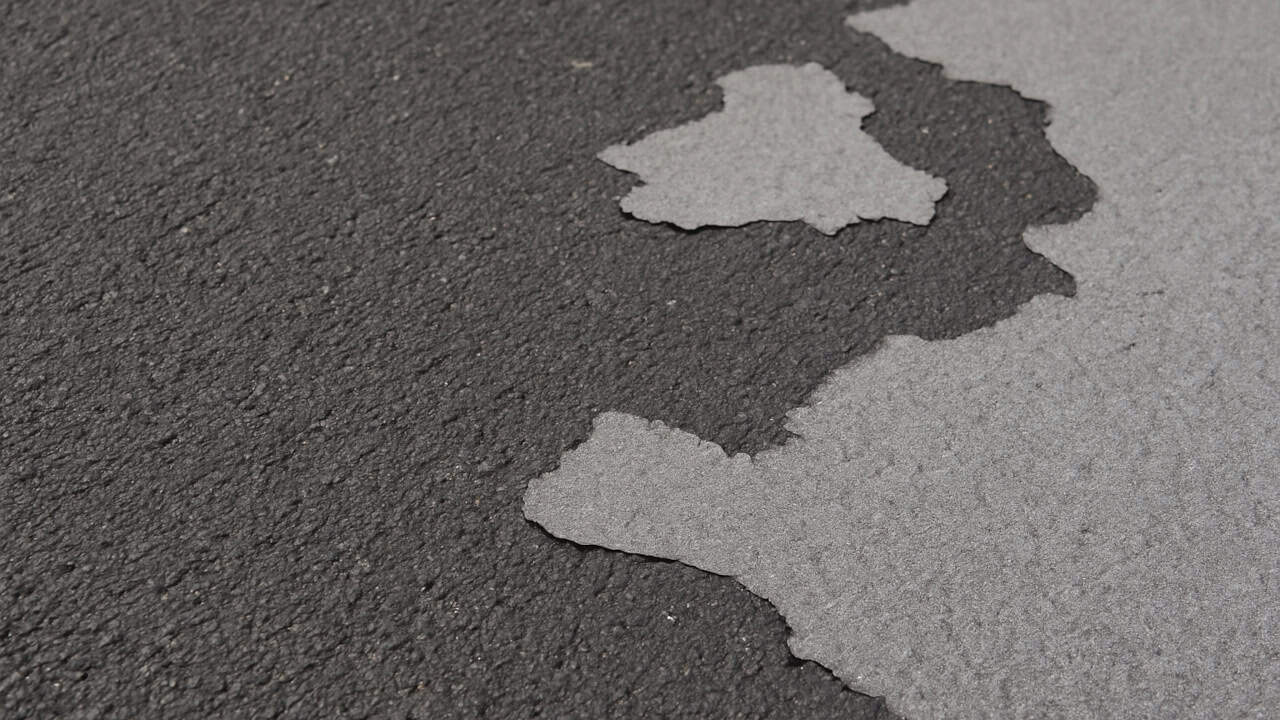
Classic sealer failure: lifting in sheets from trapped oil or moisture and over-application
Fix It Right (Permanent Method)
Best results come from removing failed material, deep cleaning, repairing defects, and re-sealing in thin coats under the right conditions.
1) Strip or mechanically remove loose/failed sealer
- Scrape and pressure wash to remove all loose/flaking areas.
- For heavy buildup, use a compatible sealer remover or a rotary floor scrubber with black pad.
2) Degrease and deep clean
- Apply a quality degreaser to oil spots; scrub and hot-water rinse until water no longer beads.
- Rinse the entire surface thoroughly and squeegee off standing water.
3) Repair cracks and defects
- Asphalt: fill cracks with rubberized crack filler; patch potholes; let cure.
- Concrete: use polymer-modified repair mortar; allow proper cure (see curing in different climates at home).
4) Dry completely
Allow 24-48 hours of dry weather. Surface and substrate must be dry (no dark damp areas). Check dew point: the surface should be at least 5 degrees F (3 degrees C) above the dew point.
5) Choose the right sealer and apply thin coats
- Stay with the same chemistry as the last successful coat or fully remove incompatible layers first.
- Stir, don't shake. Apply two thin coats with a squeegee/brush (follow label spread rate).
- Respect cure times: foot traffic only after initial cure; vehicle after full cure.
- For concrete, consider a penetrating sealer (silane/siloxane) to avoid peeling films.
Asphalt vs. Concrete: Product Tips
- Asphalt: coal tar and asphalt emulsion sealers are common; avoid mixing types without full removal.
- Concrete: use acrylic/penetrating (silane/siloxane) sealers; for decorative finishes, follow manufacturer systems strictly. See pouring in sections for long-term crack control.
Prevention Checklist (Next Time)
- Clean to bare, sound surface; remove oil until water does not bead.
- Apply in ideal weather: 15-27 degrees C (60-80 degrees F), no rain/wind, low humidity (<60%).
- Ensure surface temp is at least 3 degrees C (5 degrees F) above the dew point.
- Thin, even coats; never heavy. Respect spread rates and cure windows.
- Match sealer chemistry or remove old incompatible layers.
- Block off traffic until fully cured; avoid sprinklers and washing for a few days.
Common Mistakes to Avoid
- Sealing over damp substrate or after recent washing.
- Layering different products without full removal.
- Applying too thick to "save time" (traps solvents/moisture).
- Ignoring cracks and potholes before sealing.
Make This the Last Time It Peels
Follow the steps above and you'll get a durable, even finish that lasts. Need help planning repairs or timing the work? See the resource archive for quick, practical answers.
Contact AlexReady for the Next Step?
Use the related guides and tools on Home Care DIY Hub to plan the job before you start.