
How to Waterproof Drywall in a Garage
Published . Updated .
How to waterproof drywall in a garage begins with an important limit: ordinary drywall cannot be made suitable for an active leak or standing water by paint alone. Stop the water source first, remove damaged material, and choose a wall system that matches the remaining moisture exposure.
For a dry garage with occasional damp air, a compatible primer and washable coating may be enough. Walls exposed to repeated splashes, leaks, or flooding need a more water-tolerant assembly.
Choose Protection Based on the Moisture Source
- Condensation or humid air: Improve ventilation and air sealing, then use a compatible coating on sound drywall.
- Occasional splash near a utility area: Add a washable panel or manufacturer-approved wall system in the splash zone.
- Leak from roof, wall, pipe, or door: Repair the leak and dry the assembly before closing or coating it.
- Moisture entering through the slab or foundation: Correct drainage and water entry before repairing the wall finish.
- Repeated wetting or flood risk: Replace vulnerable materials with an assembly selected for that exposure and local code.
USG explains that even moisture- and mold-resistant gypsum panels still depend on good moisture management, proper construction, and maintenance. See its guidance on moisture- and mold-resistant panels.
Find and Stop the Water Source
- Check the roof, gutters, flashing, doors, windows, plumbing, foundation, and slab edges after rain.
- Look for condensation on cold surfaces, vehicles, pipes, and metal doors.
- Check whether storage blocks airflow against an exterior wall.
- Inspect the wall base for swollen paper, stains, soft gypsum, rusted fasteners, or mold-like growth.
- Dry the area and confirm the moisture does not return before rebuilding.
Do not seal wet material inside a wall. A coating can hide the stain while moisture continues to damage paper, framing, insulation, or fasteners.
Check Fire and Building Requirements
Garage walls and ceilings can be part of a required fire separation between the garage and living space. Before changing board type, adding penetrations, or covering joints, confirm the local code and the tested wall or ceiling assembly.
Do not cover vents, combustion-air openings, electrical panels, or required access points. Use materials approved for the location and keep clearances around heaters and other equipment.
Remove Drywall That Cannot Be Saved
Replace drywall that is soft, crumbling, delaminated, deeply stained, or repeatedly wet. Cut back to sound material and inspect the cavity.
Correct wet insulation, damaged framing, corroded fasteners, or mold growth before installing new board. Large or hidden contamination may need professional assessment.
Choose Primer and Paint for Garage Drywall
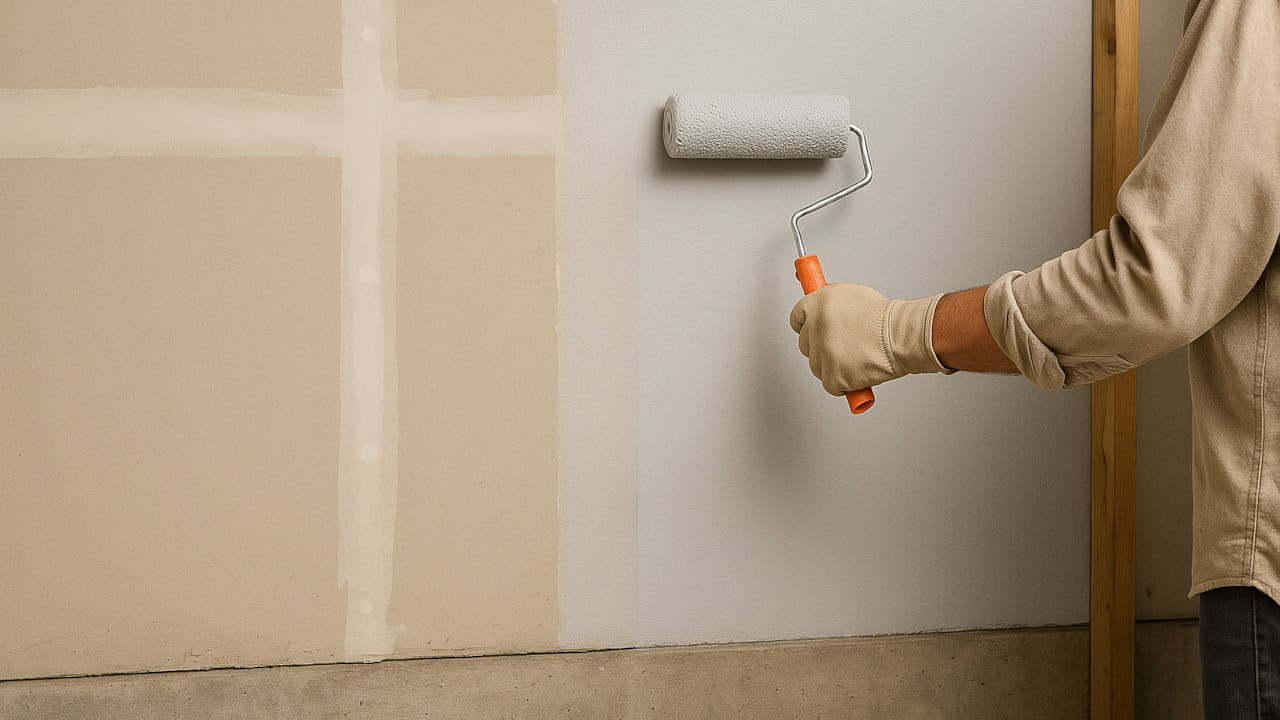
A coating is appropriate for sound wallboard after the moisture source has been controlled. It can improve washability and resistance to occasional damp air, but it is not a repair for a leak.
New drywall and joint compound absorb paint at different rates. Use a high-solids drywall primer to make the surface more even before the finish coats. The USG gypsum-panel finishing guide recommends a pigmented primer that equalizes porosity instead of relying on every paint-and-primer product to do the same job.
- Bare new drywall: Use an interior drywall primer approved for gypsum panels and joint compound.
- Dry, repaired stains: Use a compatible stain-blocking primer only after the moisture source and damaged material have been addressed.
- Finish coat: Choose a washable interior paint whose label allows the temperature and use conditions in the garage.
- Clean the wall and remove loose paint, dust, and residue.
- Repair dents and stable cracks with compatible materials.
- Confirm the wall is dry enough for the selected primer.
- Apply the primer and finish coats at the label spread rate.
- Allow the full recoat and cure time before washing or placing storage against the wall.
Choose the Right Drywall Board for a Garage
For a generally dry garage, standard gypsum board may be suitable when it meets the required wall or ceiling assembly. Moisture- and mold-resistant board can add protection where occasional humidity or dampness is expected. Repeated splash or wetting calls for a more water-tolerant system, not a different face color alone.
Choose the full system, including board, fasteners, joint treatment, primer, and finish. Match any fire-resistance requirement already provided by the wall or ceiling.
Method 3: Use Glass-Mat or Water-Tolerant Panels
Glass-mat gypsum and other water-tolerant panels may suit areas with greater incidental exposure. Product limits differ, so confirm whether the panel is approved for interior use, repeated wetting, direct finish, or use behind another surface.
Water durability is not the same as a waterproof wall. USG notes that even cement board is water durable rather than waterproof and may need a membrane to protect water-sensitive material behind it. See the USG cement-board guidance.
Method 4: Add FRP, PVC, or Metal Wall Panels
Washable panels can protect a workbench, utility sink, or equipment area from routine dirt and splash. Install the panel, adhesive, trim, and sealant as one compatible system.
Plan for movement at edges and corners. Do not trap moisture behind a panel or block inspection of a wall that has an unresolved leak.
Method 5: Use a Waterproofing Membrane Only in an Approved System
Sheet and liquid membranes need a suitable substrate, correct thickness, sealed transitions, and compatible finishes. Do not apply a wet-area membrane over ordinary paper-faced drywall unless the membrane maker approves that exact assembly and local code allows it.
A membrane also needs a drainage plan. Sealing the face of a wall will not stop water entering from the roof, exterior, slab, or foundation.
Control Condensation After the Repair
- Vent moisture from wet vehicles and equipment.
- Keep stored items away from cold exterior walls so air can move.
- Repair missing weather seals around doors and windows.
- Insulate and air-seal only with an assembly suited to the climate and wall design.
- Use a dehumidifier when it is appropriate for the garage temperature and electrical conditions.
Check the Wall Before Calling the Job Finished
- The original leak or condensation source has been controlled.
- All remaining drywall is dry, firm, and securely fastened.
- The repair preserves required fire protection and access.
- Panel edges, corners, and penetrations follow the system instructions.
- Storage does not block airflow or hide future moisture.
For other moisture, coating, and repair projects, browse the DIY home improvement guide library.
Ready for the Next Step?
Use the related guides and tools on Home Care DIY Hub to plan the job before you start.